Join us for our next Pasture Walk May 30, 2024!
Plant the seed how-to guide, Hamilton Native Outpost

Seeding Method Overview

Table of Contents

Seeding equipment can be as simple as a bucket and your hand or as complex as a remote-controlled flying drone.  There are 2 general categories of seeding methods:  broadcasting and drilling.  To take a quiz to match a particular site and situation to a seeding method, check out our Seeding Method Selector.   

Many times, a seeding method, especially the broadcast methods, need to be paired with another action to improve the seedbed or create seed-to-soil contact.  Learn more about seedbeds in the Seedbed Preparation Overview, or learn about the guiding principles for a seedbed

Tell me more about DRILLING seed…

A seed drill is a device that sows seeds in rows by positioning them in the soil, and often burying the seed in the soil.  Some drills have a fluffy grass box with picker wheels, which is needed if fluffy seeds, such as many of the native grasses, are being planted.  Here are some advantages and words of caution when using a seed drill:

Advantages: 

  • A seed drill not only distributes the seed but also ensures seed-to-soil contact.  (Unless there is a lot of thatch on the soil…read more in the words of caution below.)
  • Drilling minimizes soil disturbance.
  • With some government cost-share practices, less seed is required when drilling than when broadcasting.

Words of Caution:

  • It is easy to bury the seeds too deep with a drill.  Most native plants do best when the seed is buried no more than 1/8” to 1/4”.  To be on the safe side, it is ideal to see 50% of the seed on top of the soil.
  • Too much thatch on top of the soil means that the drill won’t be able to get the seed in contact with the soil.  If there is a lot of thatch (e.g. a full growth of cover crop), consider grazing the growth off with livestock or using a controlled burn.   
  • Drills do not love rocky soils.  
  • Drills do not love stumps and other obstacles commonly found in savanna restorations or silvopasture plantings.
  • A drill can be intimidating.  If you have never used one before, a resource such as the local Soil and Water Conservation District, which also often rents drills to landowners in the area, can be helpful.

Tell me more about BROADCASTING seed…

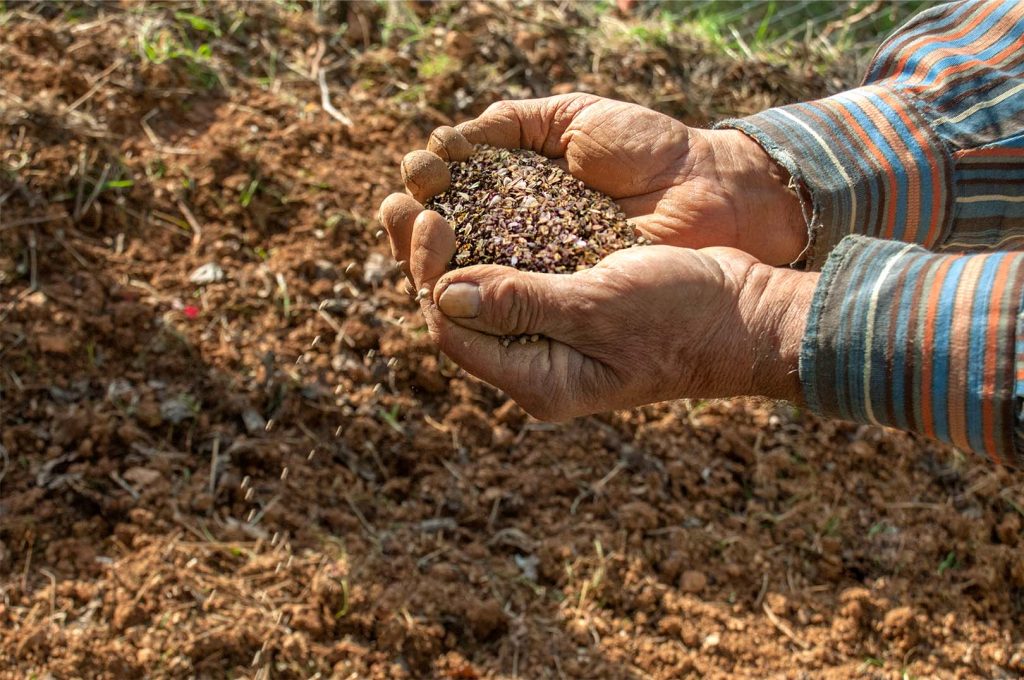
Broadcasting involves scattering the seeds on top of the ground.  The key to this method is ensuring seed-to-soil contact.  The seeds do not need to be buried but do need to be in contact with the soil.  There are advantages and cautions to broadcasting seed:

Advantages: 

  • While rocks can a big hinderance to a drill, the various broadcast methods can still scatter seed in rocky places.
  • Stumps, standing trees, downed treetops, and other obstacles commonly encountered on savanna restorations or silvopasture plantings can be broadcast over the top of either by hand sowing or with the aerial drone seeder.
  • It is unusual that broadcast seed is buried too deep in the soil.

Words of Caution:

  • Achieving seed-to-soil contact is very important and is one of the biggest concerns to keep an eye on while broadcasting seed.  The need for seed-to-soil contact can usually be met by employing one of the methods of getting a good seedbed found in the Seedbed Preparation Overview.
  • Some cost-share programs may require a higher seeding rate when broadcasting seed than when drilling.  So, if seeding for a cost-share program, check the program’s rules.

What are the methods of broadcasting seed?

There are many methods of broadcasting seed, and below is a list of commonly used methods.  To learn about a particular method, click on its associated guide (if available).  Keep in mind that broadcast seeding methods should usually be paired with good seedbed preparation techniques, which can be found in the Seedbed Preparation Overview.

  1. Hand Sowing – For small areas (or even larger areas where no other seeding methods seem practical), sowing seed by hand is an option.  This is a low-tech method – put a bucket under one arm and start slinging seed with the other.  To pick up a few pointers on doing this well, check out our Hand Sowing Guide.   
  2. Pendulum Spreader – Also commonly called a Vicon Spreader, this device is used with a tractor.  It has a hopper to hold the seed and a tube that sticks out the back end that moves quickly back and forth – much like the tail on a dog wagging side to side.  As the tube moves side-to-side the seed is slung to both sides of the seeder.  This device is one of the few broadcast spreaders that works well with fluffy seed because the agitator inside the hopper prevents the seed from bridging up over the metering (exit) hole, and the metering hole can also be opened wider than most.  To read more or see a video about using this tool, check out the Pendulum (Vicon) Spreader Guide
  3. Fertilizer Truck or Buggy – This is possibly one of the easiest mechanical spreading methods to find locally.  The buggies can often be rented, or a fertilizer truck can often be hired.  Both spreaders have a chain-drag type of dispersal.  When using this seeding method, a carrier will be needed.  To learn more about this and other tips, reference the Fertilizer Truck and Buggy Seeding Guide.
  4. Aerial Spreader on a Drone.  Steep or rocky terrain, wet soils, or obstacles such as treetops or trees are no problem for the Aerial Spreader.  In fact, challenging situations like these are why we here at Hamilton Native Outpost developed this unique device.  This method is just as fast as broadcasting with a tractor and much faster than hand seeding.  The drone seeder can spread many different sizes of seed as well as fluffy native grass seeds.  If you would like more information about using an Aerial Spreader visit the Aerial Spreader website.
  5. Other Broadcast Equipment –  There are many broadcast spreaders designed to spread seed and fertilizer, but most were not designed with fluffy seeds in mind.  Most of these seeders can easily handle materials that flow downhill, but many native seeds come in many shapes and sizes including fluffy (like feathers), large and flat (like a fingernail), or long (like a straight pin).  Most seeders were not designed to handle this variety of seeds.  The most common problem is that the seeds bridge up over the metering (exit) hole, and this can potentially be helped by adding significant amounts of carrier (like pelletized lime) to the seed and checking regularly that seed is coming out of the seeder.  Another potential pitfall is that the seeds are too large to fit out of the metering hole.   
Share this!
We’ll walk you through every step from site preparation and planting to maintenance.
Explore videos and articles on native plant philosophy and practical tips.
Dig deeper

into the world of native plants

dig deeper icon, Hamilton Native Outpost